Jewelry Insertion Guide
DO NOT force jewelry into piercings. You can damage the skin or damage more fragile organics and glass. If after following this guide, you still cannot easily insert your jewelry, please make a trip to your local friendly piercer who will be happy to insert your jewelry for a fee. If you are in Northern Colorado, bring your jewelry, packaging, and receipt into one of our locations and we will insert your jewelry for free.
DO NOT change jewelry in new piercings that are not healed. You can really damage a piercing and cause longer healing times or be more susceptible to infection if you change a piercing to soon. For healing times please refer to our piercing aftercare here. (link)
Please follow these simple steps:
1. Make sure the jewelry you purchased is the correct size for your piercing (link). If you are unsure about sizing please contact us so we can help you. (link)
2. If your jewelry came unsterilized, it is a good idea to wash your jewelry following the tips in the About Our Jewelry section of our FAQ. (Link)
3. When working with smaller jewelry, work in an area where you can find your jewelry if you drop it. Avoid high pile carpets, floor vents, sink drains, and other jewelry black holes.
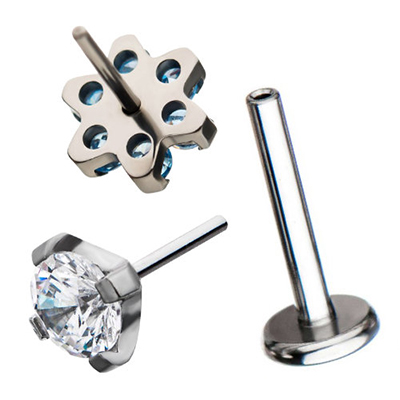
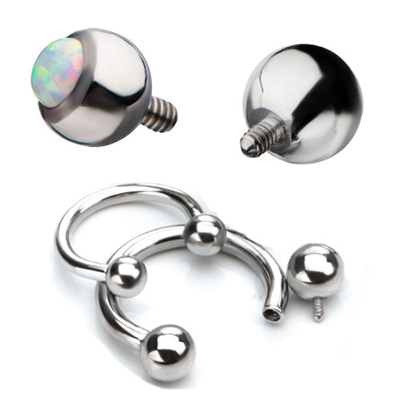
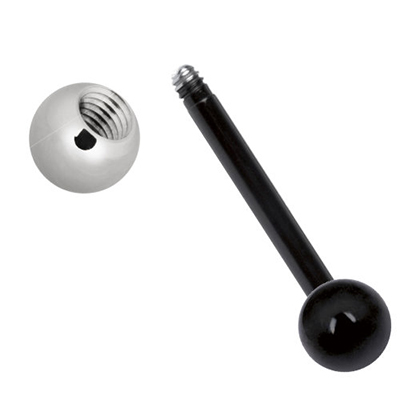
4. For threaded jewelry or pin jewelry (threadless) always take off one end before insertion. Replace the end after inserting the jewelry. You might need a helping hand with threaded or threadless jewelry. Some people find it difficult to replace ends on jewelry they cannot see.
5. Always use something to lubricate your jewelry. It is best to use water based personal lubricants as these will not harm organics, and they don’t leave a greasy residue. Although, you can also use a bit of soap and water and then rinse of the piercing. Inserting piercings after a shower is a good idea as skin tends to become more elastic after a hot humid shower.
6. As an alternate method, you can insert jewelry in the shower using lubricant or just soap and water. Be careful not to drop small jewelry down the drain.
7. After lubricating the wearable part of the jewelry hold on to one end and gently push the jewelry into your piercing. Never force the jewelry into the piercing. If the jewelry will not go through after 2 or 3 attempts do not continue insertion. Please contact us or go see your local piercer ofr more help. When you continue to work on inserting jewelry you can cause micro tears and bruising which causes inflammation and only makes it more difficult to insert the jewelry.
8. After inserting jewelry replace the end if need be and wash the piercing with soap and warm water and pat dry.
For HEALED piercings only: If you experience irritation after wearing jewelry for extended lengths of time, remove the jewelry and let your piercing take a break from the material. Wash your piercing and keep the jewelry out for a day or two. For healed piercings you, usually, won’t have a hard time inserting the jewelry after about 12-48 hours of no wear. Although, some areas of the body, such as navels, tend to be more difficult for insertions after the piercing has been out for a day or two. If your irritation comes back quickly or your reaction causes general swelling and redness you may be allergic to the material you are wearing. If you are unsure about your symptoms, please contact us. (link)


